HOW WE INSTALL YOUR ROBOTIC LAWN MOWER
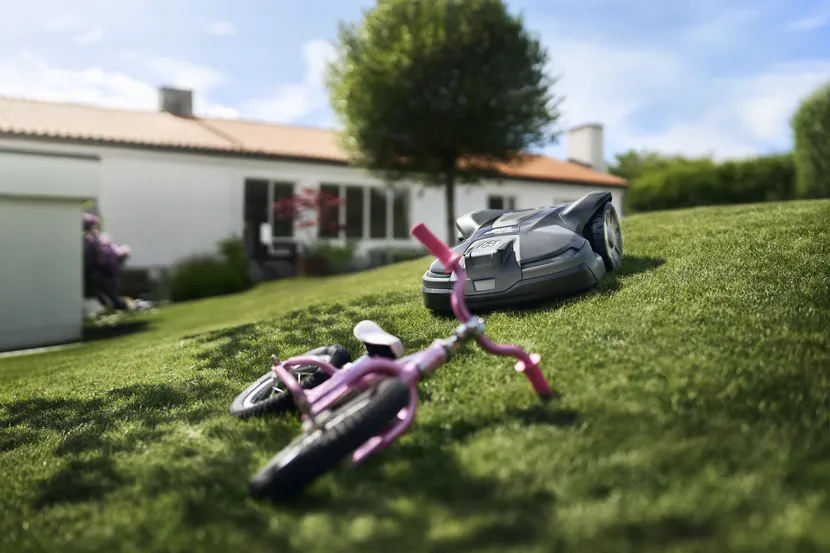
We Begin by taking a look at your lawn. To minimise the risk of having your machine get stuck or damaged, the grass has to be cleared of all rocks, twigs, tools, toys and similar obstacles. Also, if the grass is longer than ten centimetres you are recommended to cut it with a regular lawn mower one last time.
Placing the charging station
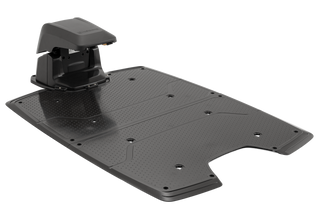
We find a good Place for the charging station to be positioned somewhere on flat ground in the middle of the cutting area with some free space around it. we make sure the station is free from Water hose or sprinklers and close to a power outlet.
Charge the battery
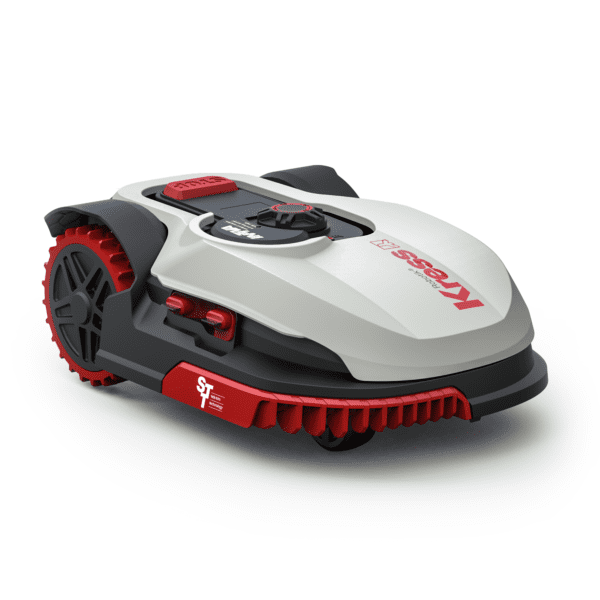
Once the charging station is in place, it’s time to charge your robotic mower. We Put the robotic mower in the charging station and move on to the next step. Charging an empty battery takes 80-100 minutes.
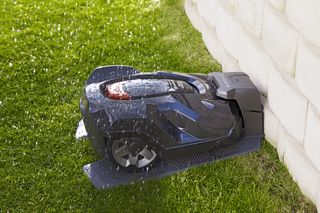
Laying the boundary wire
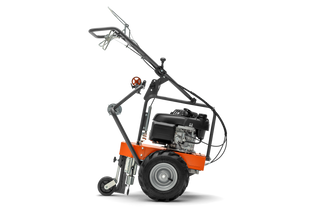
We use the most advanced cable laying machine to ensure the boundary cables are buried correctly. Once the cables are installed ,we complete a check of the site to check that the wire has been correctly installed. we will then connect the perimeter wires to the base station. This is where your robotic mower will live and return to automatically every time it needs charging or parked while not in use.
Relax After installation
After the installation has been finished your robotic mower will need to be programmed. we will set this up and perform a series of test to ensure that your robot mower is operating correctly. When we are entirely satisfied that your robotic mower is working fine we will talk you through set up and scheduling options, and features that are available on your chosen model.
With a robotic mower you will unlock hours and hours of free time. Instead of mowing the lawn, you can spend time with your family and friends, and engage in activities that are more enjoyable. And all the while, your lawn is kept in perfect shape
Reference station for wire-free installation of Automower®

Customisable lawn maintenance thanks to wire free installation with virtual boundaries. The virtual boundaries are easy to install and adjust in the Husqvarna Automower® Connect app, and you can create stay-out zones and multiple work areas with different settings.


